Roast BeefA Classic. |
|
 based on 1645 reviews
Ingredients for 4
As this web site can calculate ingredient amounts for both Metric and US visitors and for any amount of persons, some measures may appear a bit odd at times. We do round and try to be as clever as we can with the calculations... If you have any ideas on improving this system, we would like your comments on our contact page.
Show US units
| Ingredients | |||
|---|---|---|---|
| 1000 | grams | beef (silverside, brisket, rump ...) | |
| 1/2 | onion | onion (medium size, 160g each) | (80 grams) |
| 1 | carrot | carrot | (80 grams) |
| 1 3/4 | tablespoon | olive oil | (20 grams) |
| 2 1/4 | teaspoons | butter | (10 grams) |
| 2 3/4 | teaspoons | corn flour | (8 grams) |
| 1/2 | cube | stock cube (beef) | (5 grams) |
| 3/4 | teaspoons | salt | (4 grams) |
| 1/4 | teaspoon | ground black pepper | (0.8 grams) |
| 120 | mls | white wine | |
You will need more beef if you use a cut with bones or fat - e.g. brisket. It doesn't hurt to do some more - cool the left-overs in the fridge and cut it into thin slices for sandwiches.
Method
Please follow the step-by-step instructions below. To get the roast just right, it is best to use a meat thermometer. Insert it right into the middle of the joint. Here are the temperature values:
| Cuisson | Celsius | Fahrenheit |
|---|---|---|
| Rare | 49 - 52 | 120 - 125 |
| Medium Rare | 55 - 60 | 130 - 140 |
| Medium | 63 - 66 | 145 - 150 |
| Well done | 68 - 74 | 155 - 165 |
Please take into consideration that the core of the beef will still heat up once you have taken it out of the oven to let it rest. I tend to take my roast out at 58 degrees Celsius. After the 15 minutes resting, it is perfectly medium.
If you don't have a meat thermometer, a rough guide is to cook for 20 minutes + 20 minutes for each pound. So a 3 pound roast will take 20 + 60 = 80 minutes.
Great with Yorkshire puddings, roast potatoes, veg and a glass of red.
Step-by-Step Instructions
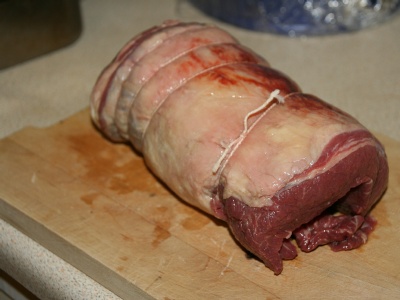 | Pre-heat your oven to 200 centigrade / 400 Fahrenheit / Gas Mark 6. Here is our roast - this time brisket. Our piece here weighs a good kilogram, so roasting time is 50 minutes if we still want it to be slightly red, one hour for well done but still juicy. |
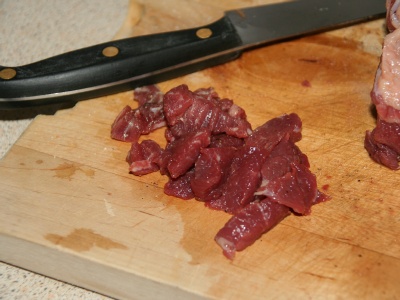 | I'm cutting off some beef for the gravy. If you have beef stock around, this is not necessary. Roughly 1/10th of the weight of the roast is fine for this. |
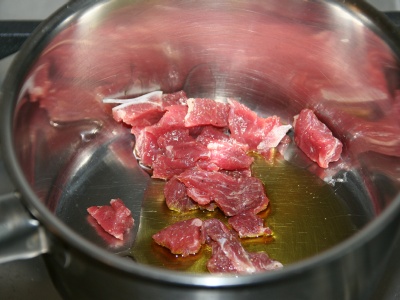 | Put some olive oil into a small saucepan. Heat it up and add the cut-off bits from your roast to it. Fry for 3 minutes ... |
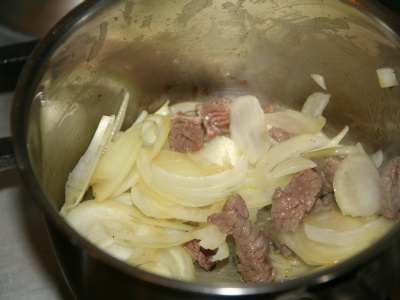 | ... then add a finely chopped half onion. |
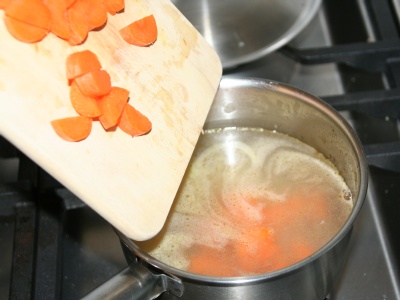 | Add a glass of white wine and half a glass of water and a chopped carrot. |
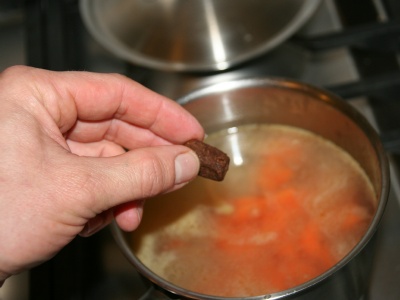 | I still feel like it's cheating, but half a beef stock cube won't hurt. |
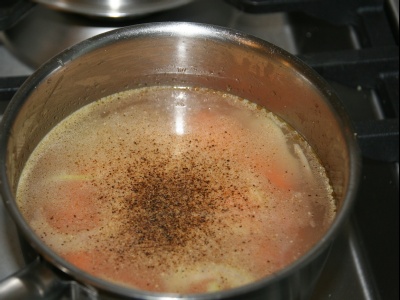 | A couple of turns from the pepper mill and a bit of salt (careful here, the stock cube is quite salty in itself). |
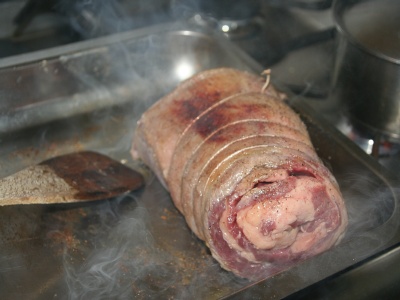 | It is essential to close the pores of our roast before we put it into the oven. Salt and pepper the roast. Put the roasting dish on the hob, turn it up to full heat, add some olive oil to the roasting dish and put the roast in when it's hot. Turn the roast so all sides will be nicely browned and sealed. Then put the roasting dish into the pre-heated oven. Set your kitchen timer to the roast's cooking time. (Here, for 1 kg brisket, we want 45 to 50 minutes). After 10 minutes in the oven, turn the temperature down to 180 degrees centigrade / 350 Fahrenheit / Gas Mark 4. |
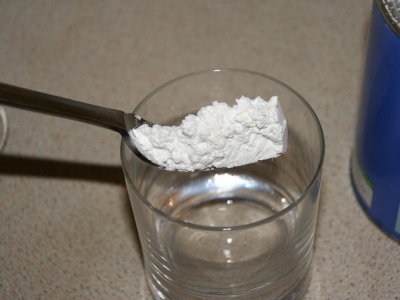 | Whilst the roast is in the oven, put a fork full of corn flour into a drinking glass. We will need that later to bind the gravy. |
 | Add a bit of cold water and stir with a fork. |
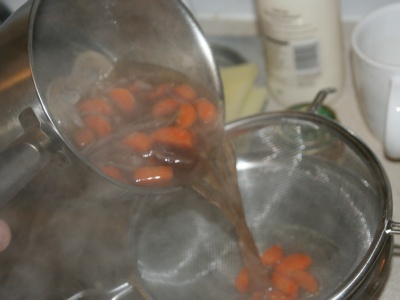 | 5 minutes before the roast is done, pour the stock through a colander. Throw away the bits left in the colander - they have done their duty, and, if properly done, will actually not taste of much any more. Their taste has gone into the stock - and that's where we want it.. |
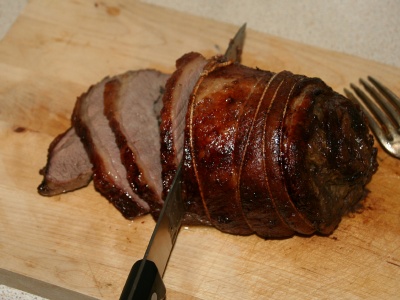
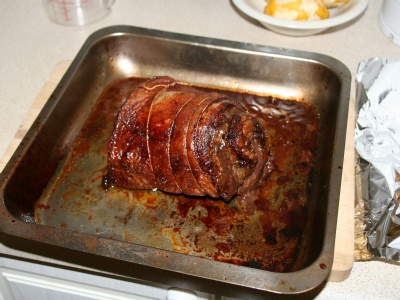 | Here is our roast straight out of the oven - looks lovely! |
 | Put it on a wooden board and cover it with aluminium foil and let it sit for 15 minutes. If you cut it up earlier, all the juices will just come out and you will end up with a dry roast. |
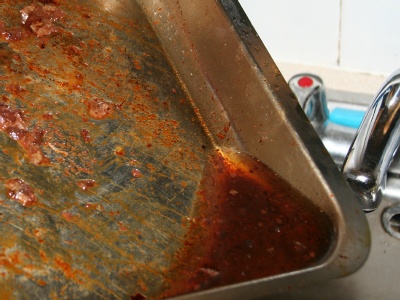 | Pour the grease off the roasting dish. Be very careful here - we don't want to throw away the juices, only the grease. You can leave out this step if you have a gravy separator as shown below. |
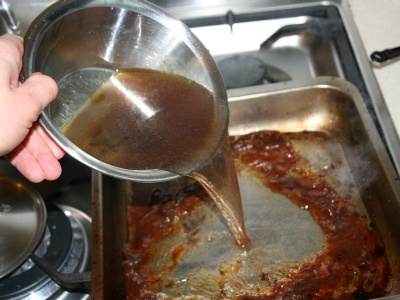 | Add the stock to the roasting dish ... |
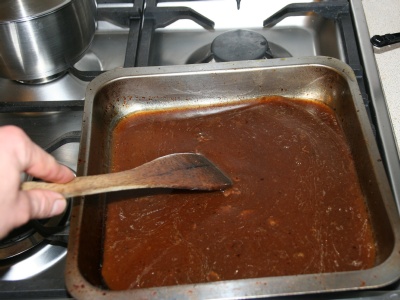 | ... and stir it whilst heating it up on your hob. You want all the nice brown bits to dissolve into the stock. |
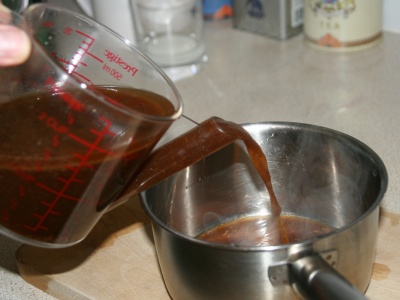 | Pour the stock into a gravy separator. Then pour it into a small saucepan leaveing behind the grease. |
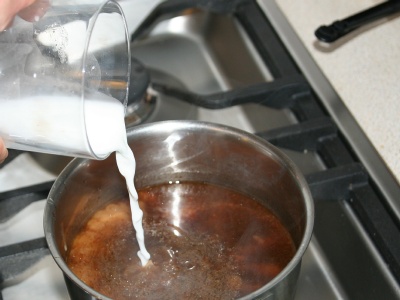 | Boil up the gravy. When it's boiling, add the dissolved corn flour to thicken it. Please add it slowly as you don't want your gravy to bee too thick. Always bring to a boil after adding the corn flour to check. |
 | Finally, we add a knob of butter to the gravy. If you have some creme fraiche or sour cream in the fridge, add two teaspoons to the gravy instead of the butter. |
| When the 15 minutes are up, cut the roast into thin slices. Serve and enjoy! |